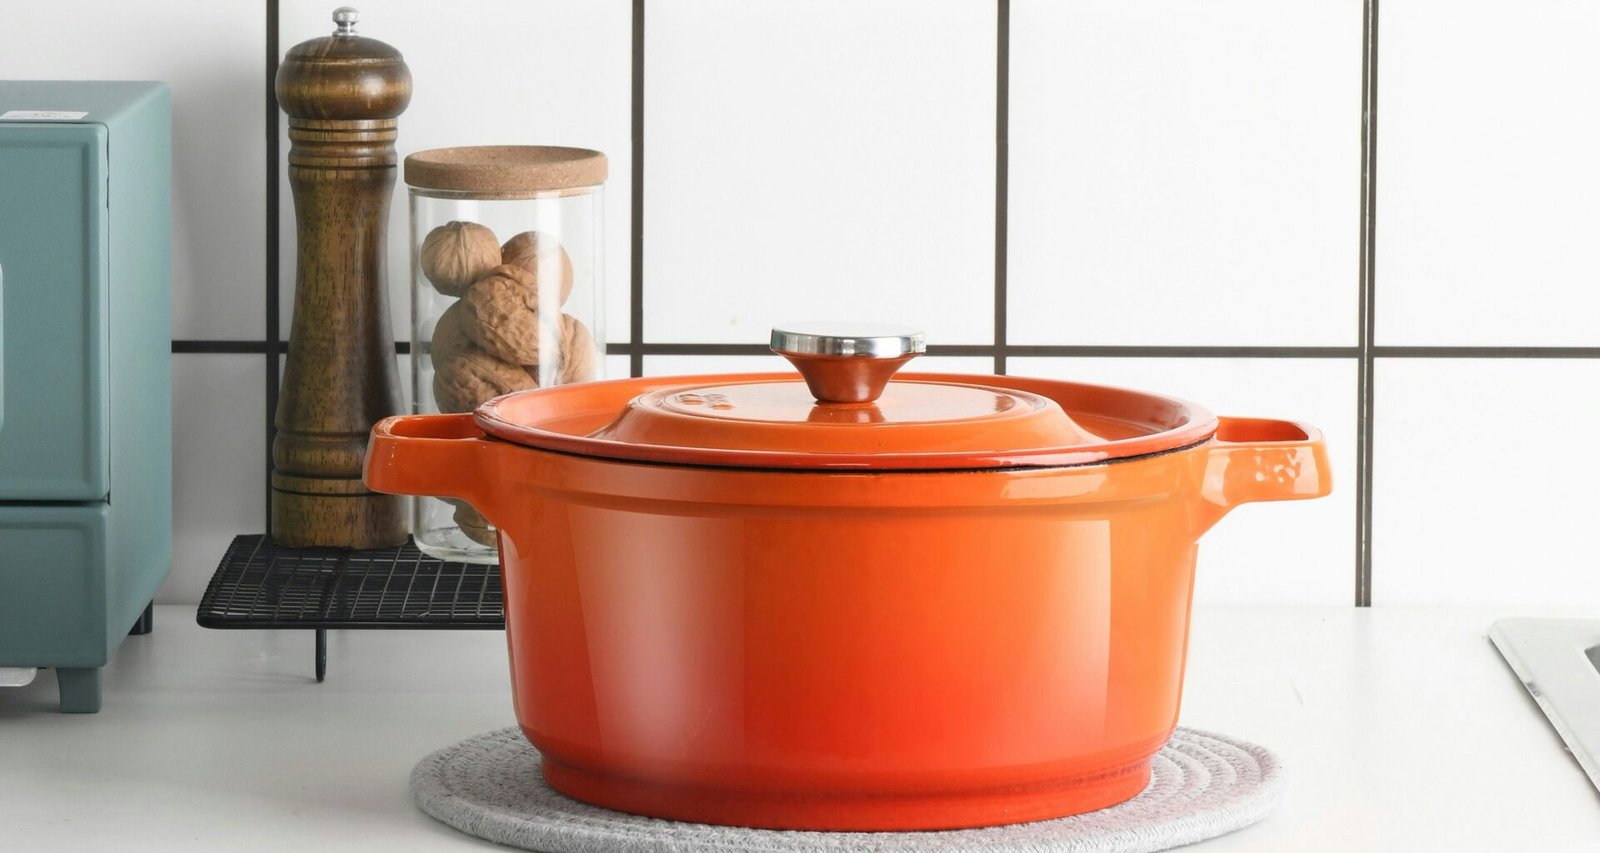
You’re probably wondering how much you’ll have to change and what it’s going to cost you. Once you commit to experimenting with culinary nutrition, preparing your kitchen does not need to be a daunting endeavour, nor does it have to be costly. Whether you live in a studio apartment or a large family home, your kitchen just needs to function optimally and smartly.
Preparing your kitchen
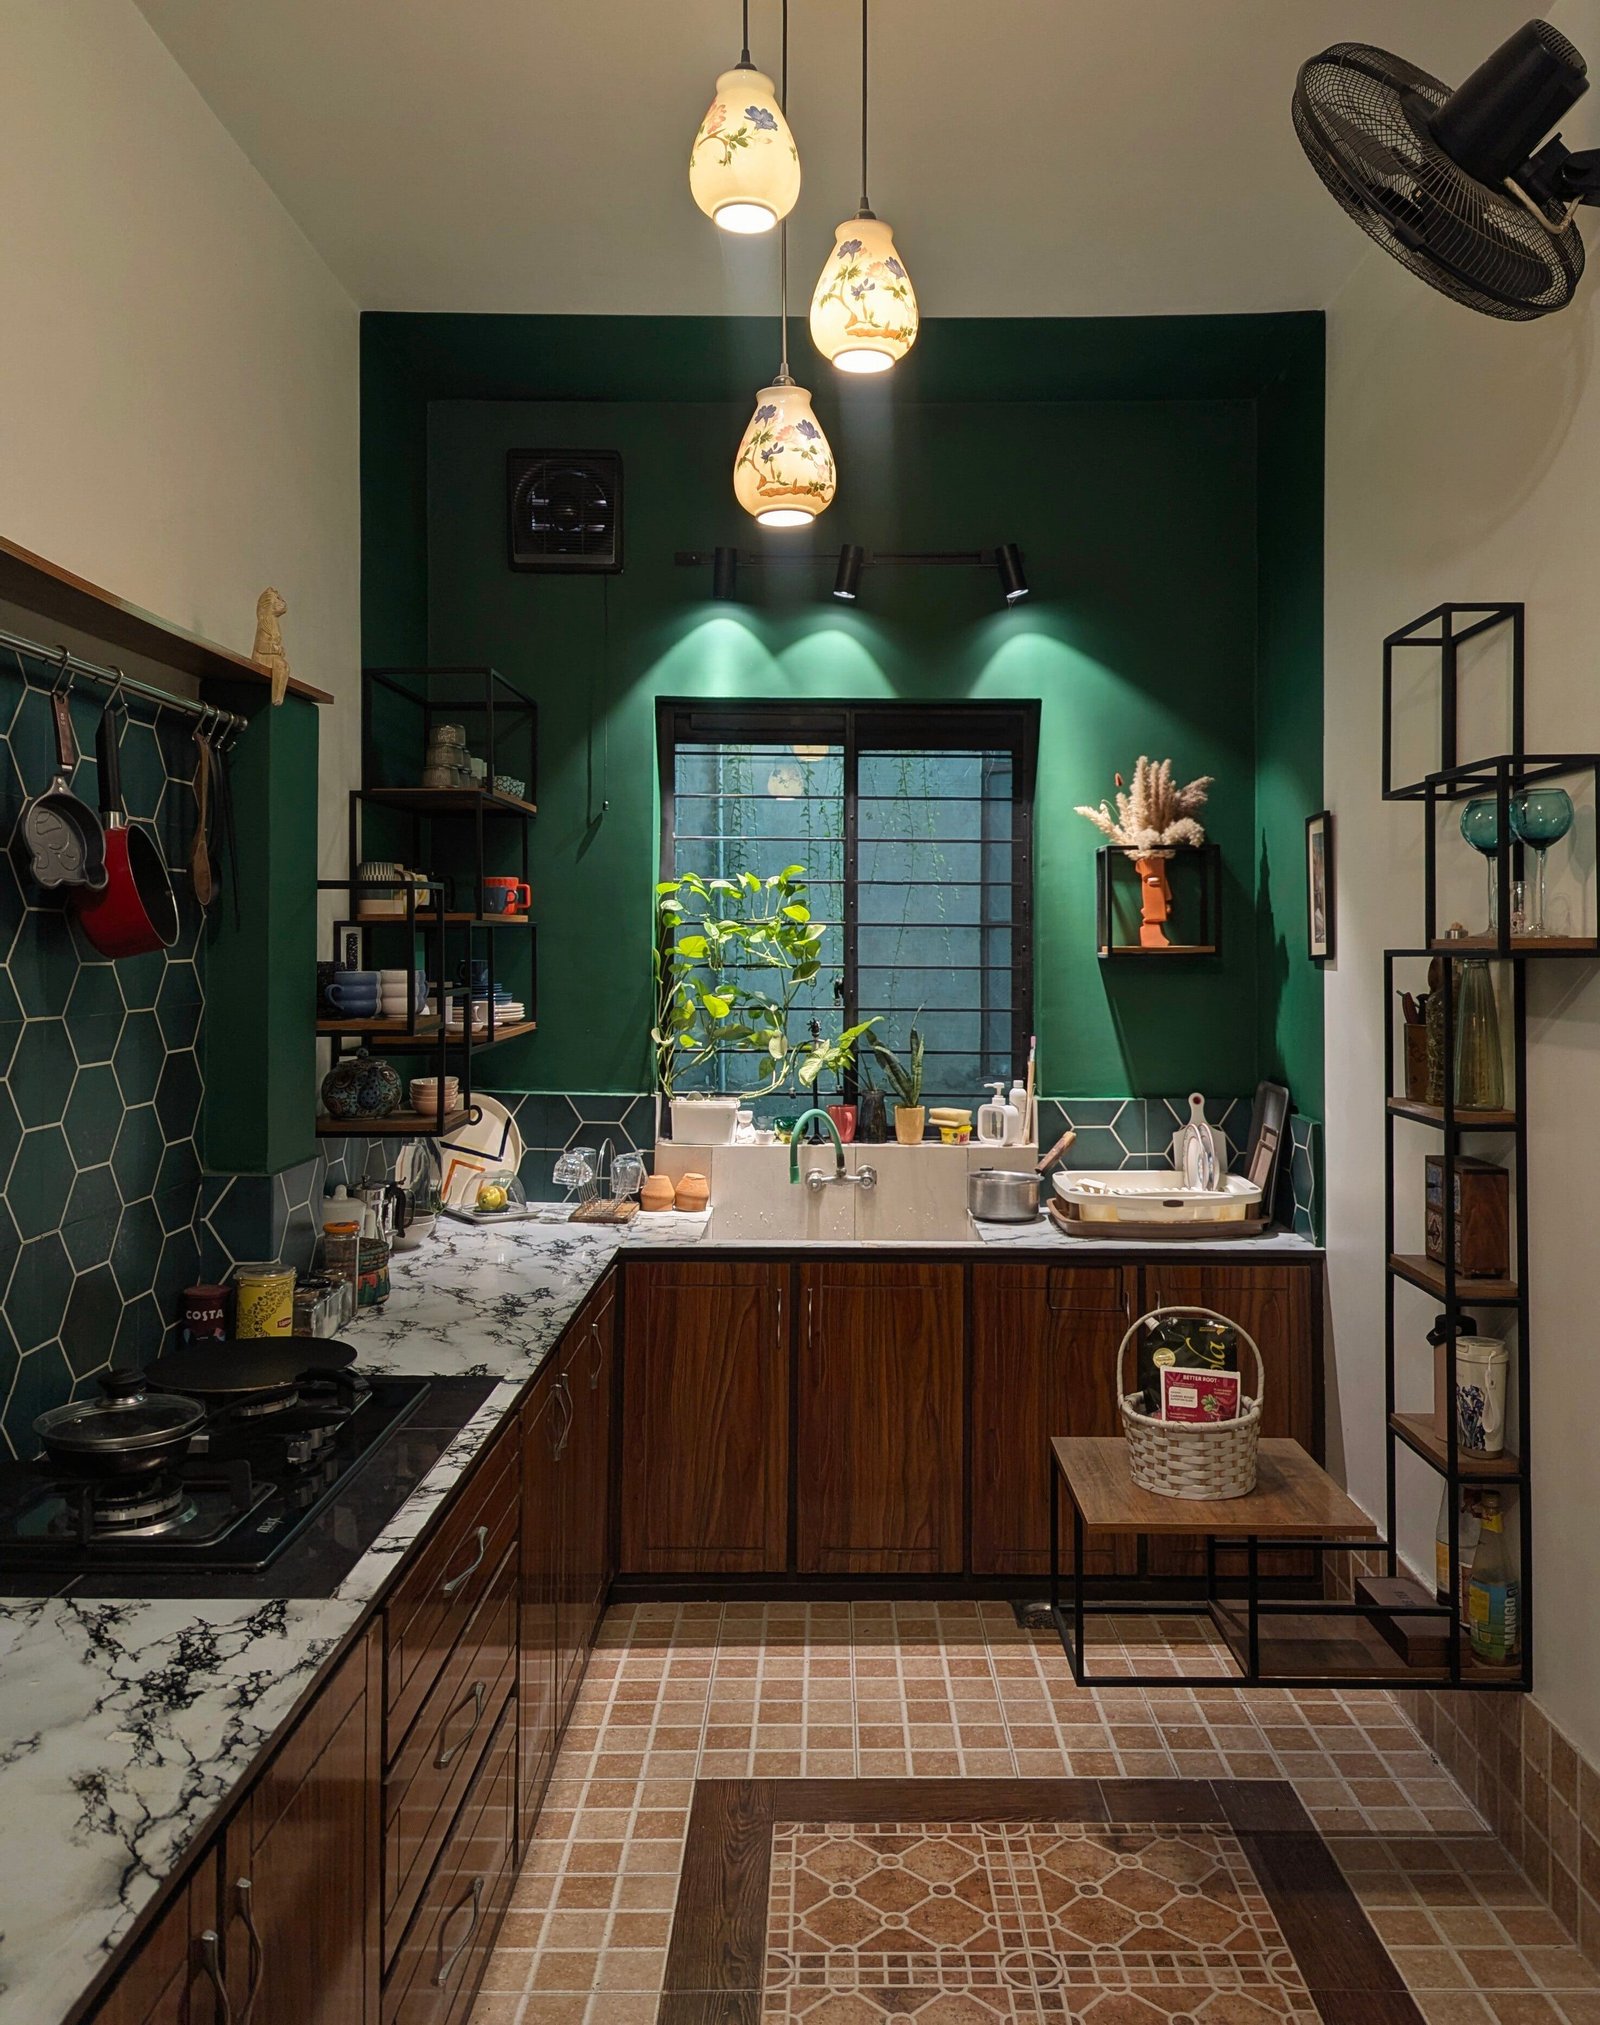
Here are the first steps to preparing your cooking space:
- Clear your counter tops. Yes, that means wiping down and then surface disinfecting. Make like the chefs do and make it spotless!
- Group types of foods. Eg. Group flours together; nuts & seeds; grains and so forth.
- Rearrange cabinets so that foods, utensils and eating ware are all housed separately.
Next:
- Glass-jar all ingredients and waterproof label them with MNF1 and EXP2 dates.
- Check all utensils and food processing equipment. See what you’ll still need to buy or borrow (kitchen equipment checklist).
- Create a light and temperature appropriate space for fresh produce.
- Separate areas in the cabinets, shelves and fridge for CN foods and ingredients.
Note: If you’re living with people, don’t convert them to your way of eating. Be open-minded. Keep cooking and inspire them with your nutritious meals!
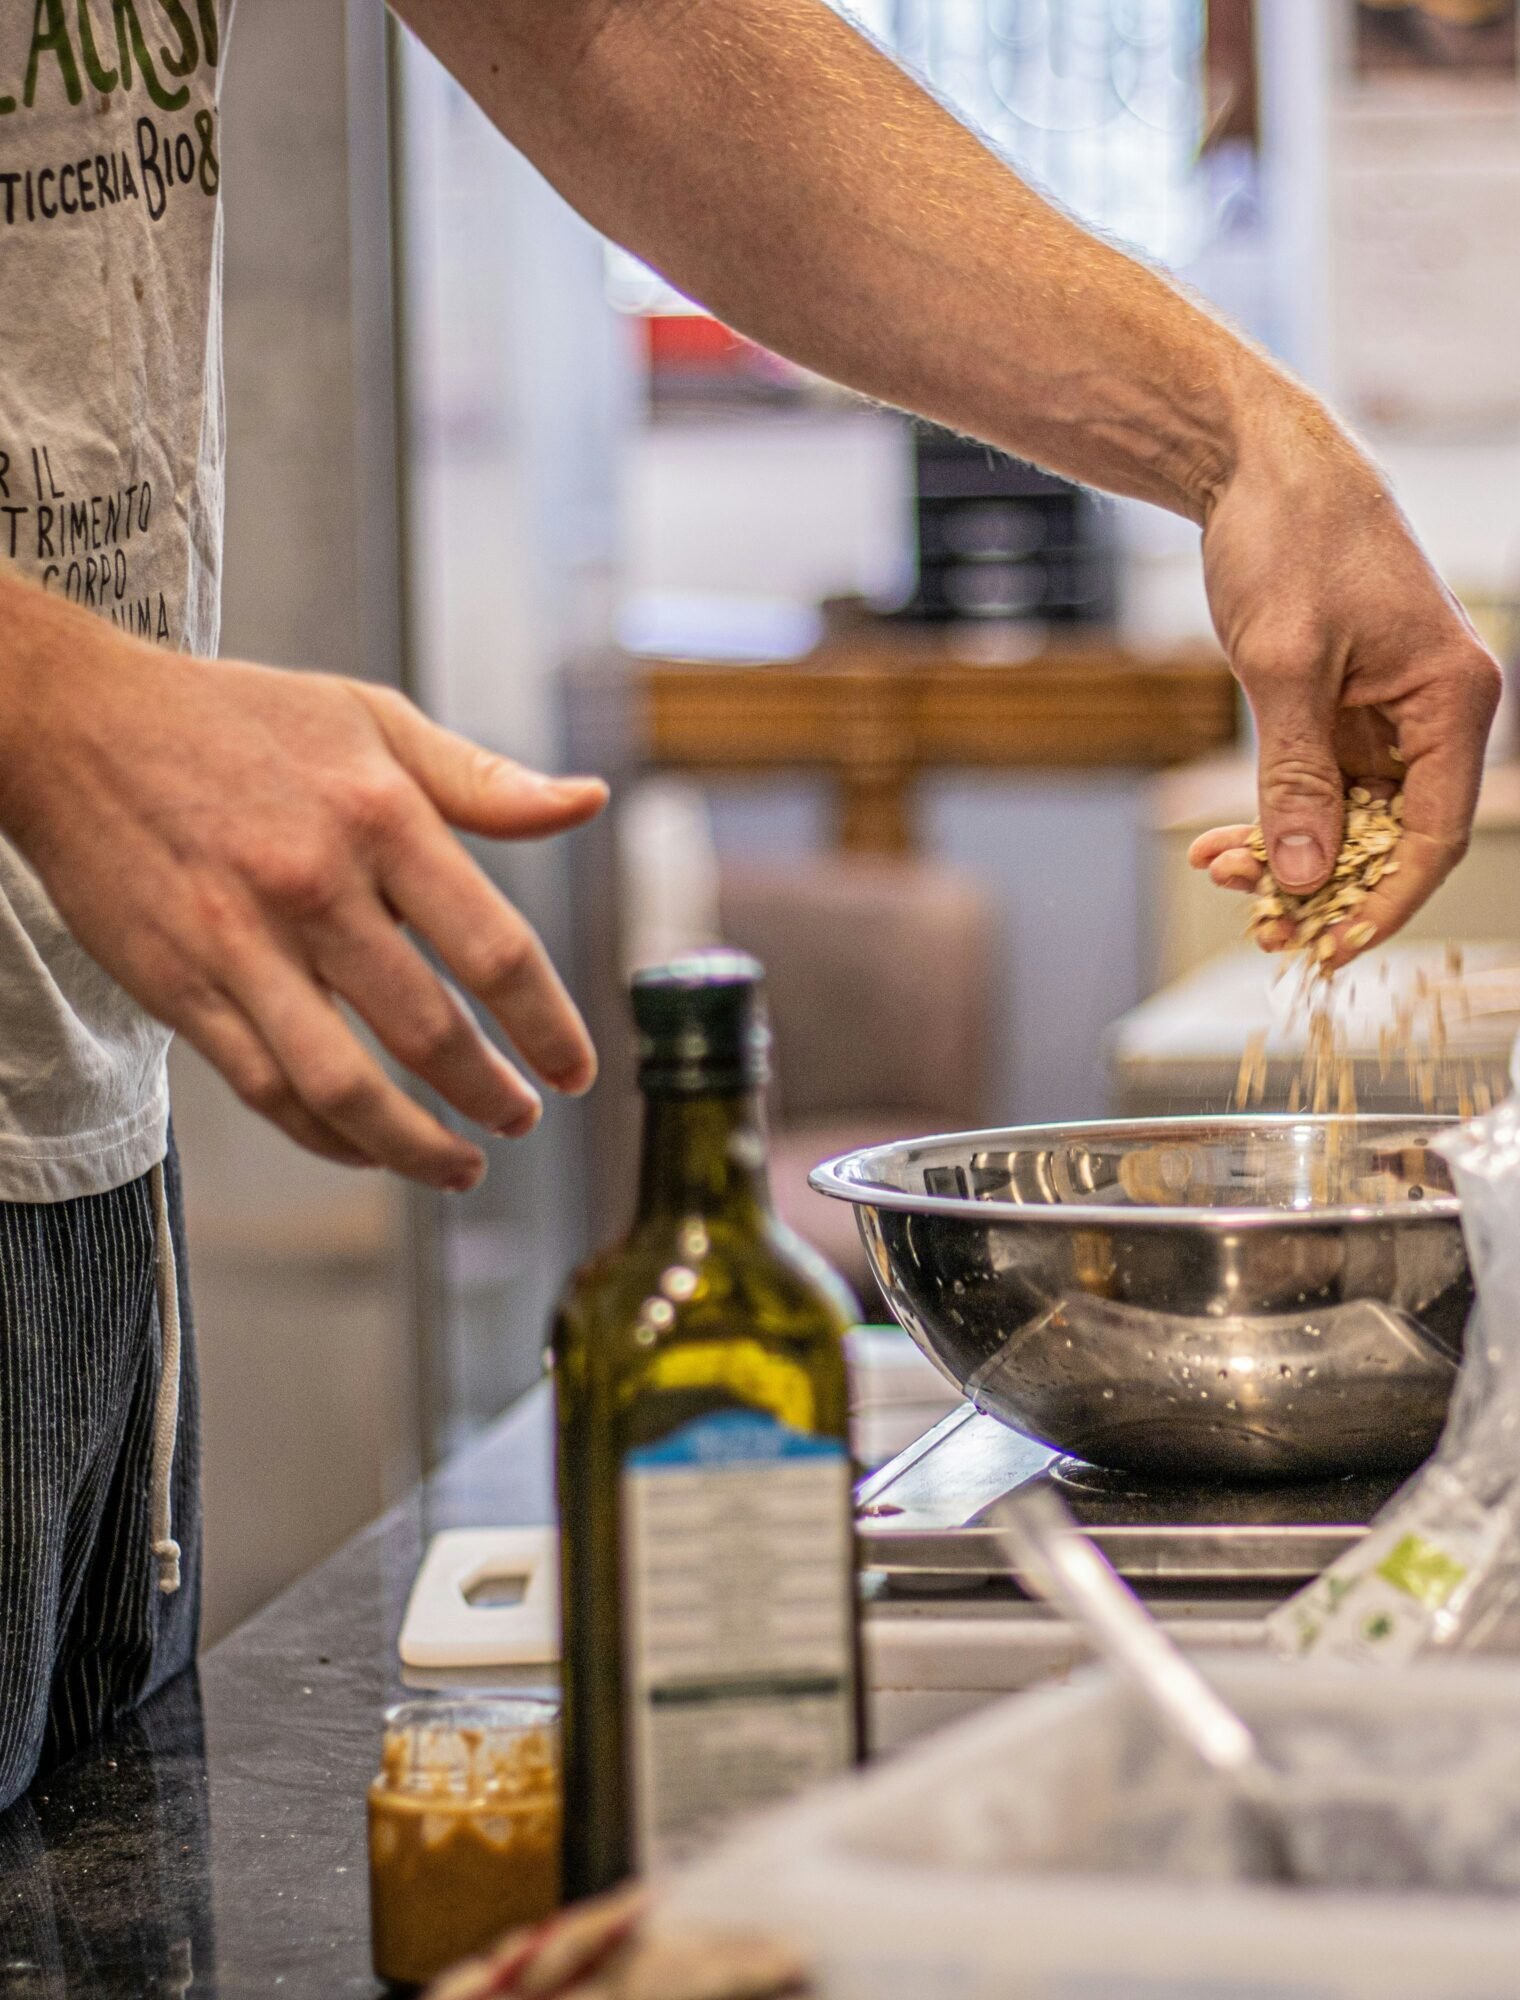
Checklist for CN kitchen equipment:
- Blender. A Vitamix or similar will do. Preferably a vented one in case your ingredients are still warm. Chef’s note: Safety first.
- Food Processor. A basic version with three settings is sufficient ie. A Pulse, Slow and High speed setting.
- Chopping Knives. A Chef’s knife (there’s only one kind) and a Pairing knife.
- Chopping board. Wooden or Marble is best. You’ll have to ditch plastic after a whileonce they start emitting a smell. That smell is usually bacteria.
- Juicer. A centrifugal machine is pricey but a worthy investment. Otherwise a Nutribullet. If neither are an option, use your Blender and your nut milk bag3.
- Mixing bowls. Three sizes ie. Large, medium, small.
- Pyrex dish
- Skillet. Non-stick or cast iron.
- Nut milk bag
- Grater. The traditional stainless steel box-style is perfect if you already have one.
- Peeler. Invest in a good brand. They usually come with well-designed handles for safe gripping and control. I recommend OXO or Victorinox.
- Spiraliser. There are many versions and brands to choose from. See the version I use in my kitchen.
- Ice cube tray. The flexible silicone ones are easier for removing frozen cubes.
- Glass or Stainless Steel Carafe. For homemade milk or juice.
- Mason jars. For storing ingredients or homemade condiments. Resealable zip-lock plastic bags are fine but not for longer than 3-6 months. Even if it states ‘BPA free’!
- Nickel-free Stainless Steel cookware. This is a durable and cost-effective option. Cast iron or ceramic is good as well but more costly.
references
1 MNF – Insert the manufacture (or when you made it) date or purchase date.
2 EXP – Insert the expiration, ‘use by’ or sell by date.
3 Nut Milk bag – Use a nut milk bag to strain pulp left over from juice made using a Blender.
Disclaimer: The author of howtodesignideas.com and the articles hosted on this website, does not give medical or mental health advice. In the references to it, the phrasing is used to illustrate a point or give context to the information. It is not related to a specific condition or any specific individual. Always consult your healthcare professional for mental health or CBT advice. See our Legal Policies for more details.


